
Using a Linux Desktop to Flash the Ender 3 Firmware With the TH3D Unified Marlin Firmware
On Trending Tech’s You Tube video explaining how to update the firmware, Most of what they cover is useful. But at one point in the video, they use a pre-canned version of the firmware all set up to run Arduino in Windows. Well, that will not work very well in Linux.
TH3D has an installer for Mac OS X, but they support is highly lacking. The directions are 1/2 backed at best. And they even say if you have issues, don't call us, this is unsupported, so just use Windows! Don’t get me wrong, I'm glad they released their code, but really, what it is up with that kind of attitude from a company that is suppose to be all about Open Source?
Anyway, the video is here:
Most of the instructions apply. But there are a few extra steps are needed.
For starters, I’m going assume you know at least some UNIX, and how to navigate around the shell. Also, I'm going to assume you already have a known to be working Arduino set up on Linux desktop system. You will also need the unzip program, that should be included by default on most distros.
I’d recommend watching the video once to get an idea of the process, but before doing anything in the video, you'll need to install the drivers for the Ender 3's computer. Start, by going to https://www.th3dstudio.com/knowledgebase/th3d-unified-firmware-package/ and downloading the latest Zip file. Start by making a temp directory, copy the zip file and unzip it.
NOTE: This example assumes the version is R2.14, but it could be newer. Just make a note of the Zip file name when you download it.
NOTE: All procedures here and in the video, should be performed when the Ender 3 is turned OFF! Having it on could damage something.
mkdir /tmp/TH3D_UFW
mv ~/Downloads/TH3D_UFW_U1.R2.14.zip /tmp/TH3D_UFW
cd /tmp/TH3d_UFW
unzip TH3D_UFW_U1.R2.14.zip
Now you'll notice one of the extracted directories is MacOSX Arduino. In that directory, you'll find the Zip file TH3DArduinoLibraries.zip. It contains the hardware drivers the Arduino development tool needs to see the Ender-3. So, now to just install them.
mkdir -p $HOME/arduino/hardware
unzip TH3DArduinoLibraries.zip
cp -r arduino sanguino $HOME/arduino/hardware
And if the Arduino app was running, kill it and restart it, or start it, and you will see the new board
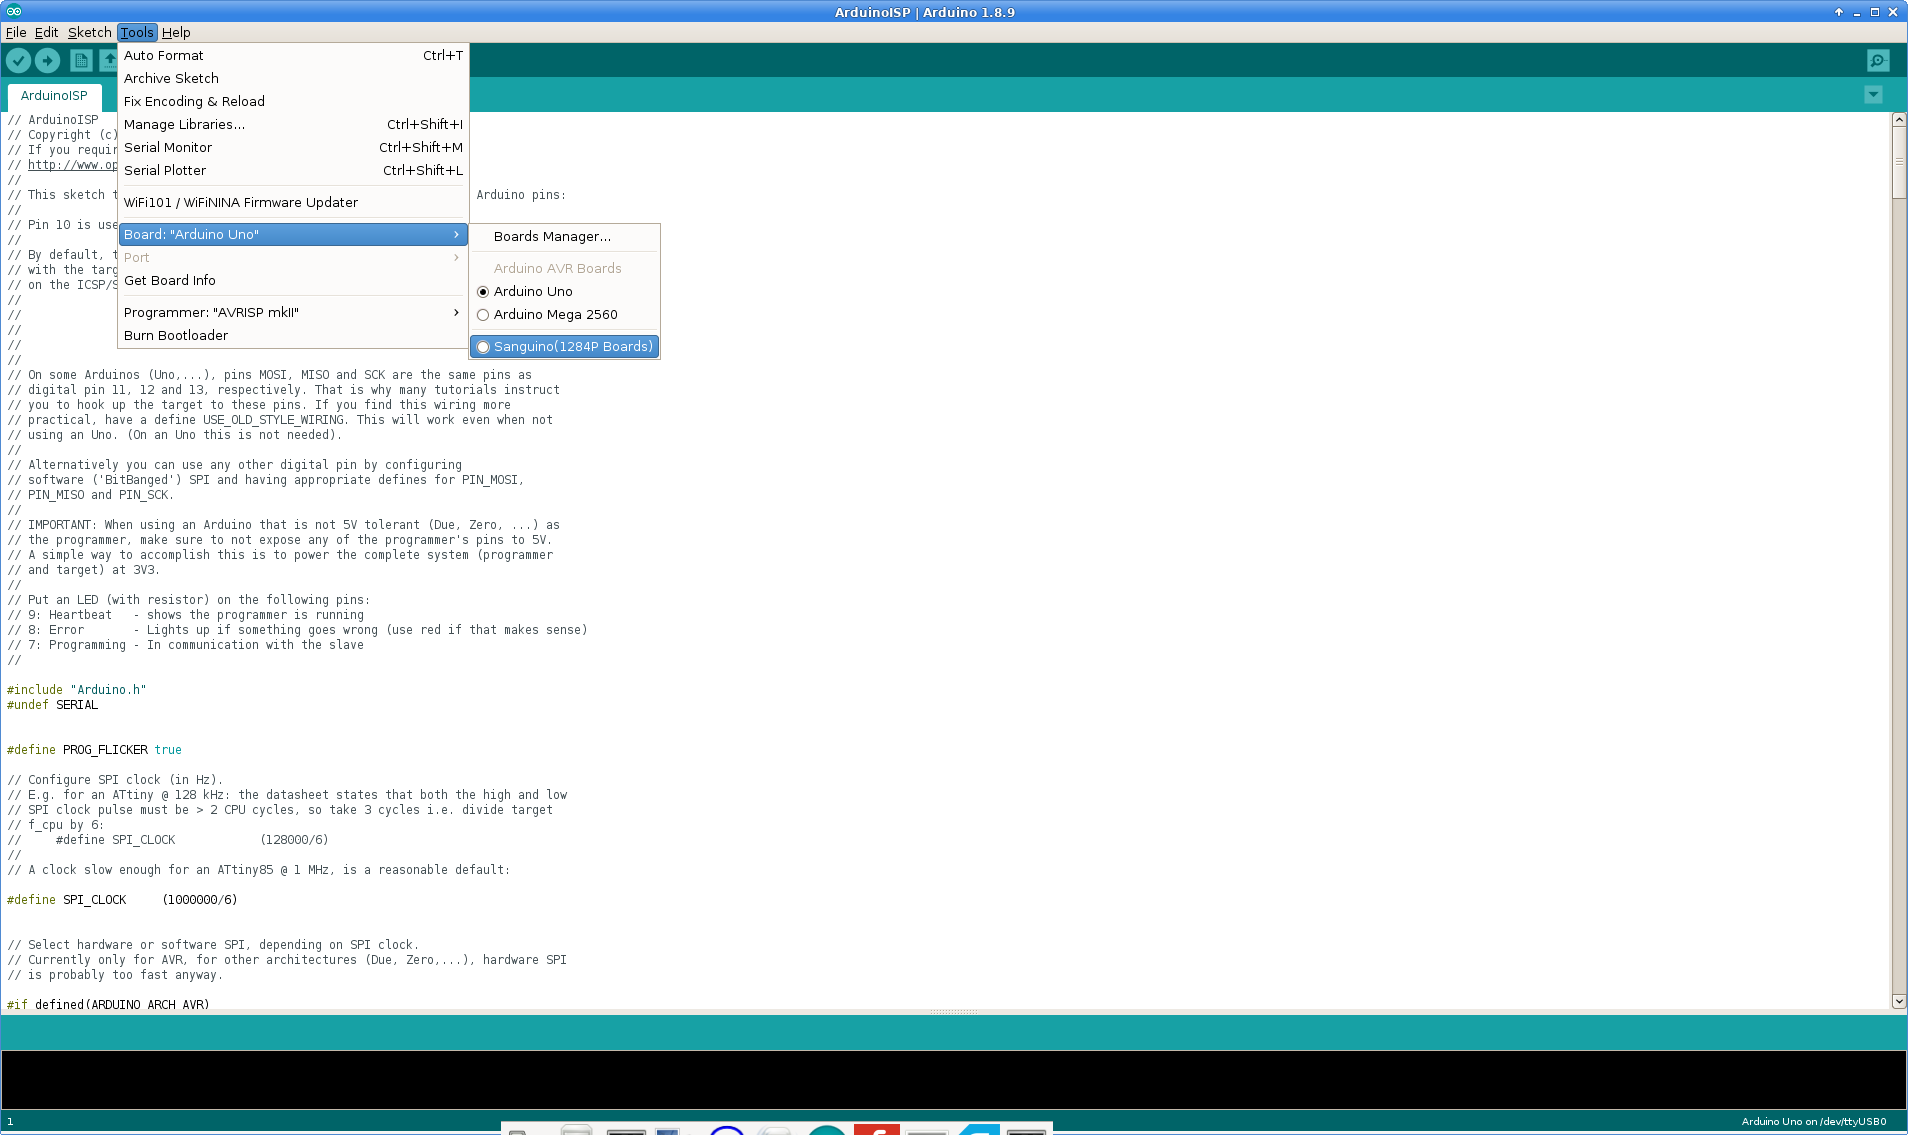
Select the Ender 3 board
Next Follow the instructions in the video to flash the boot loader using another Arduino board. After that is done, the next step is to get the firmware source set up in the Arduino software. This is really simple.
cd /tmp/TH3d_UFW
cp -r Firmware/TH3DUF_R2 $HOME/arduino/
Now instead of double-clicking the Windows .bat file as in the video, launch or go to the Arduino software, and select File->Open, when the dialog box comes up, just select folder for TH3DUF_R2 or whatever it is, and then double click on the TH3DUF_R2.ino file.
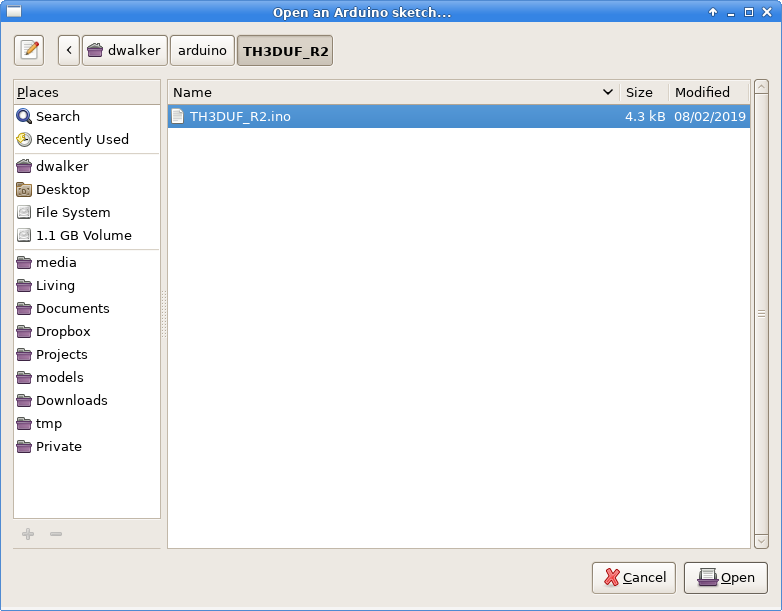
Select the firmware
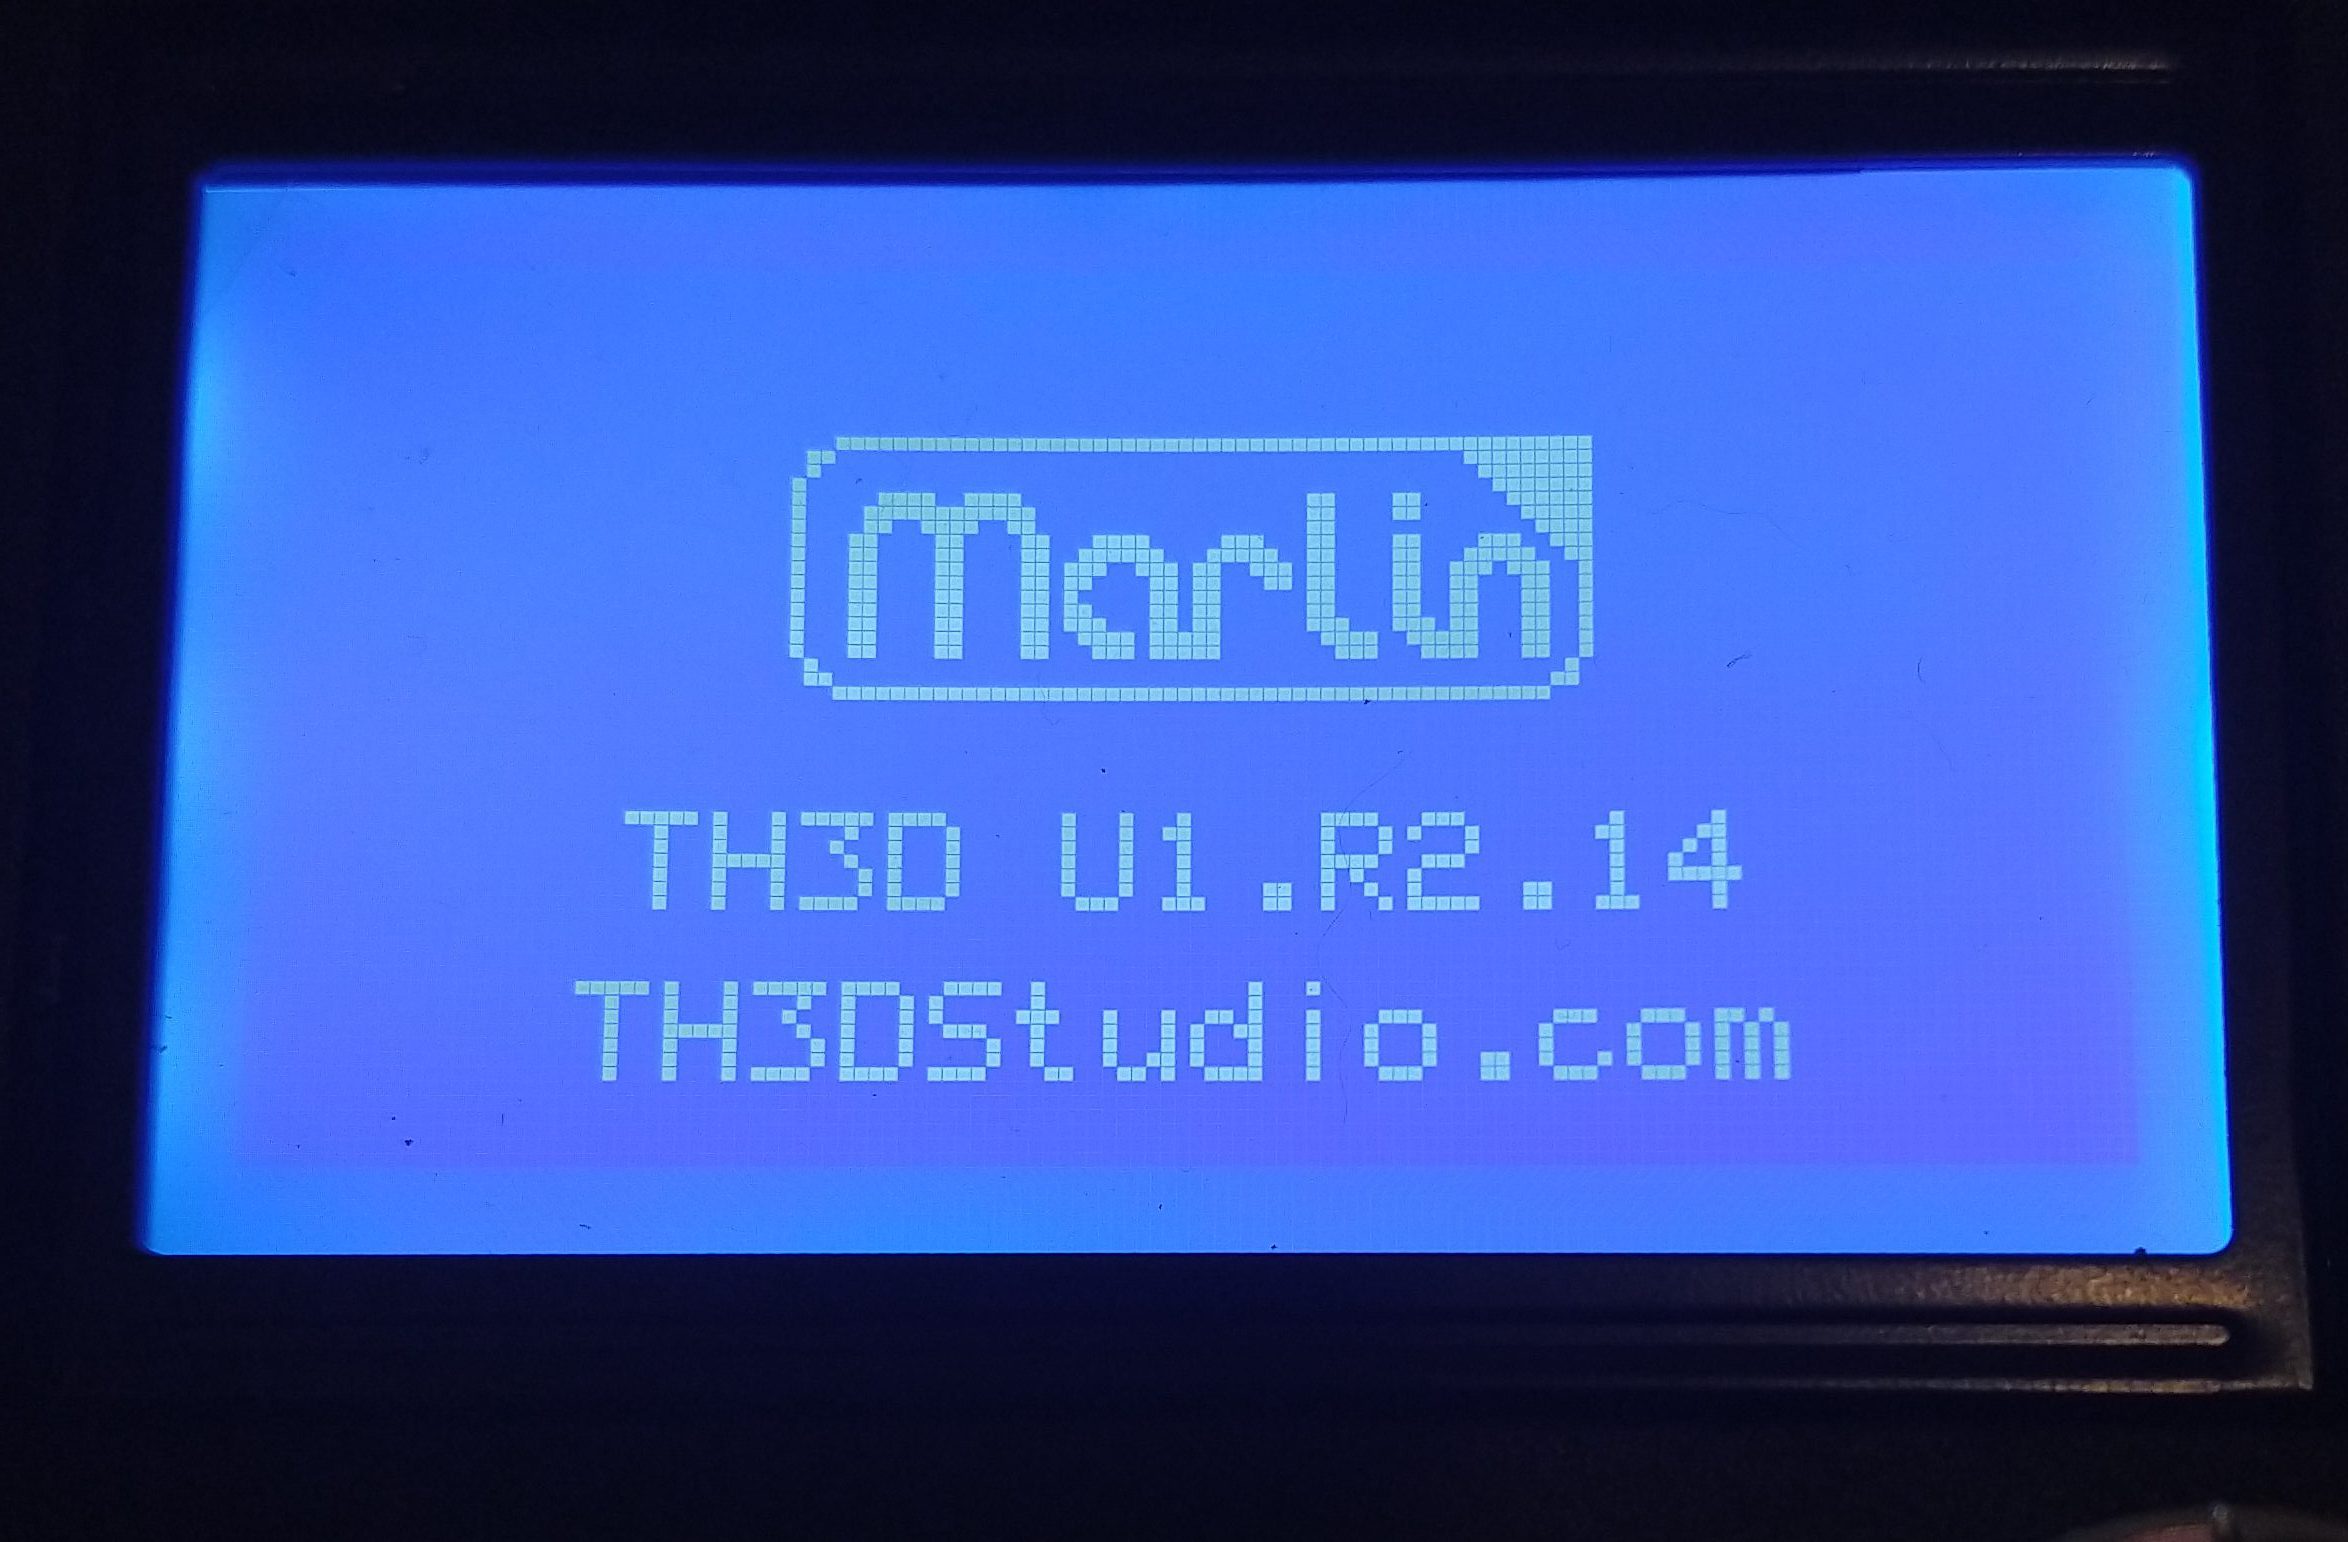
And that’s it. The rest of the instructions in the video can be followed and should work flawlessly.
As a bonus tip. If you want to keep track of the version changes you make as you modify or upgrade the firmware, if you have git installed on your system:
cd $HOME/arduino
git init
git add .
git commit -a
Then when every you make a change, just commit the change
git commit -a
As I’m pretty sure I’m not the only one who uses Linux, I’m hope this will be useful.